|
Thursday afternoon: Time to start the side panels. With the roof complete in half a day, we figured we can at least get the walls up on the sides before the day is over. We had a little insulation left so we put it on the end that would catch most of the wind. Looking back I think it would have been nice to put it all the way around, but, it isn't airtight, it's a barn for cryin' out loud.
We were never short of supervision!
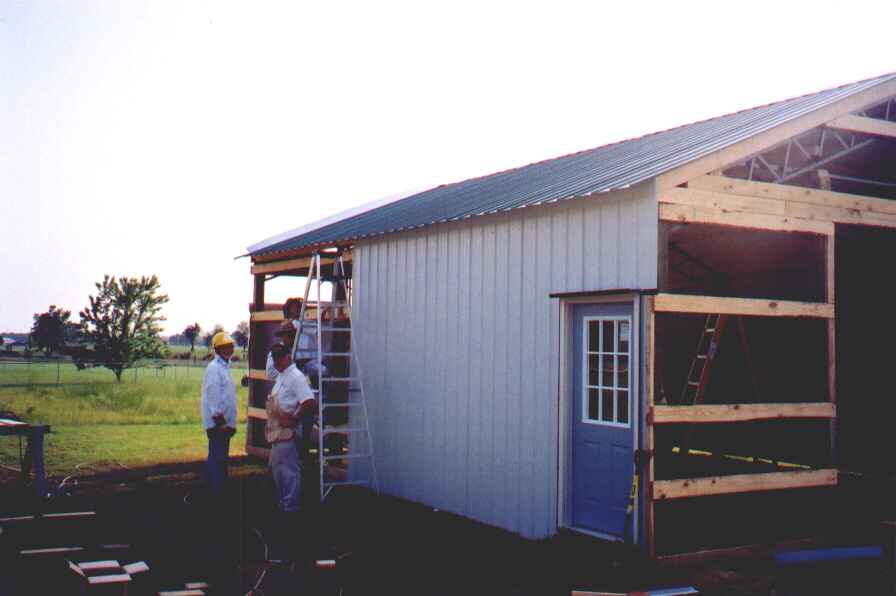
Making our way around. That mandoor will look good with a coat of Forest Green paint to match the trim.
|
|
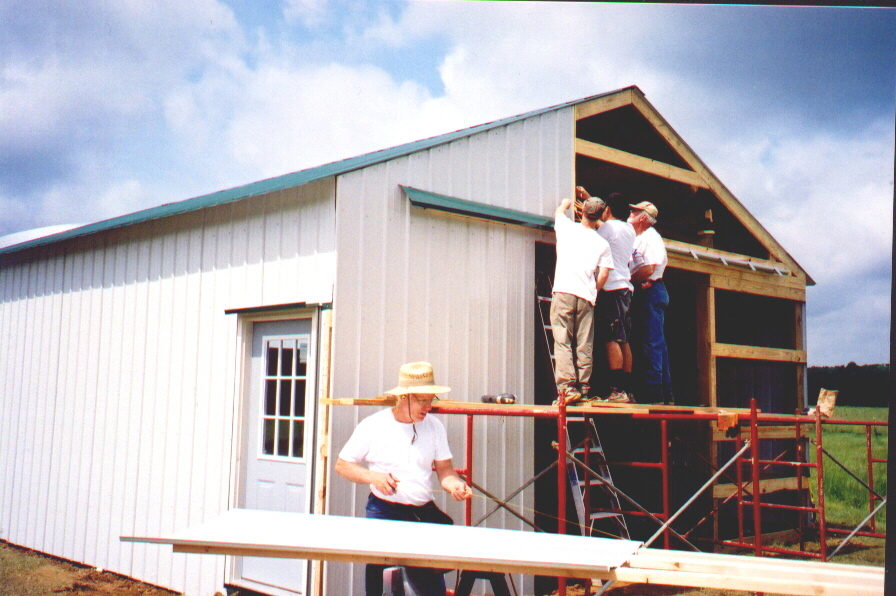
Friday morning: We got out around 7:30 today and put the tracks up for the sliding doors. The green roof over the track was attached next. The white metal would then go on overlapping the green part to keep the water from running in between the metal and the track. Then we began putting the end metal up. This was probably the most tedious part of the construction...cutting the metal to fit around the track and making the angles right. This being our first time at this, it took us all day Friday to complete just one end of the barn. Many of our cuts had to be made a couple of times. We had no extra metal to mess up on so we were very conservative in our measurements. This was discouraging going so slow, we had one more day left and so much more to do. Saturday we had to do the other end as well as put all the trim up and assemble the sliding doors. Also, Saturday would be cut short...we had to be at a friend's wedding at 4 pm. The family would be leaving on Sunday after worship services.
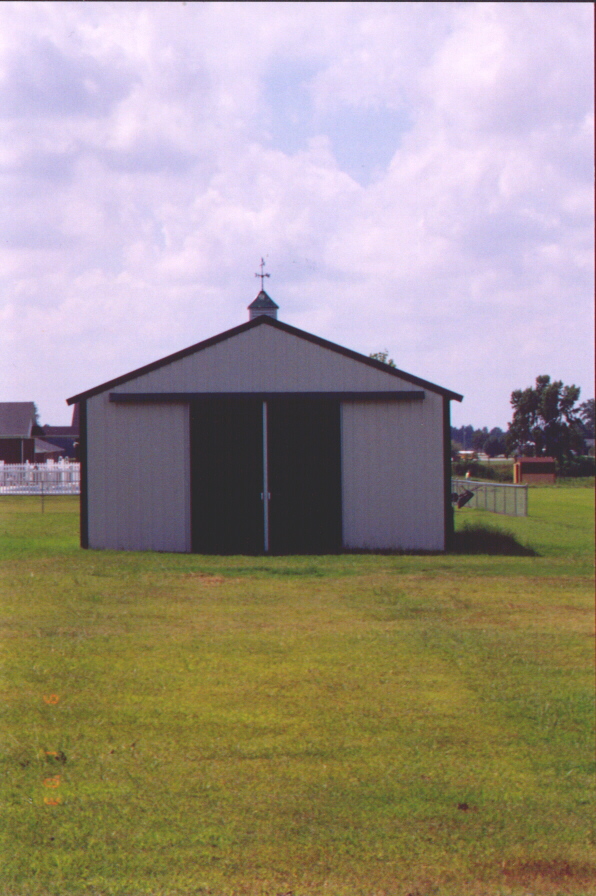
Well, we got in to such a hurry Saturday that we didn't take any pictures, sorry. But both ends are the same so you get the idea. Since we had learned a lot Friday, Saturday we were able to get the other end up in half the time - by lunchtime. That was encouraging! We worked hard to get all the trim on the corners and the facia trim up. There was also eve trim to go under the roof portion and the wall. Finally at about 3 oclock, we had everything complete except the sliding doors assembled. They would just have to wait. We took it in to the house and hurriedly got ready and made the wedding on time!
What a week! Many thanks to my FAMILY. It was a great project and something to be proud of when we finished. They headed home Sunday after services to Florida.

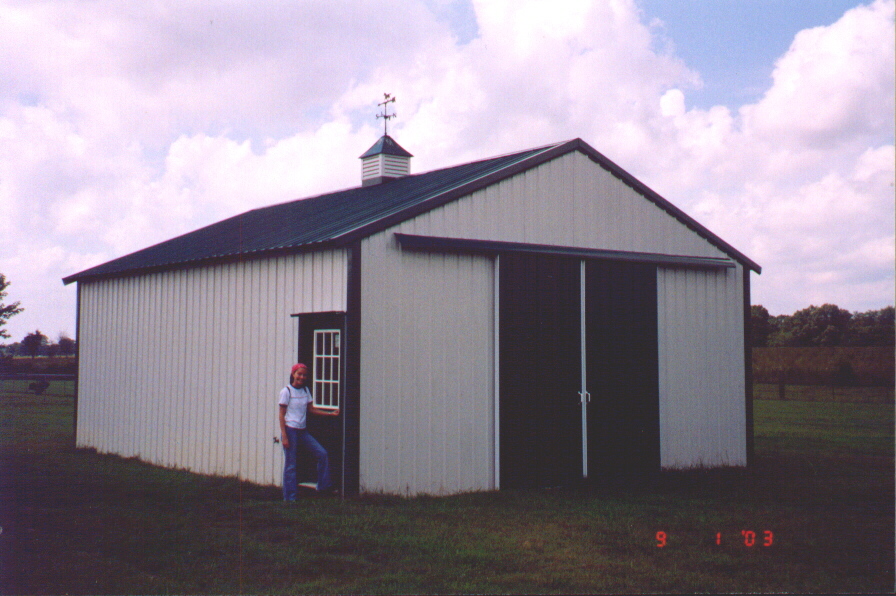
My Father-in-law and Uncle Jim came up for a surprise visit about 3 weeks later to help me finish getting the barn like I wanted it. We took about a day and a half and got the doors assembled and hung on the tracks. They looked great!!
During that week while I was at work, they dug a water line and ran water and electricity out to the barn and Dad built a workbench in it for me.
What a nice surprise to get home from work and have all of that work done!
Finally complete. The Cupola on top with the windvane costed a little extra, but my wife and I agreed that it would be worth the money. It really makes it look kind of classy...for a barn. Now that I have power, water, lights, and a workbench, maybe I should start calling it a shop. Hmmmm....
Right now, it has a gravel floor with heavy plastic material underneath to keep moisture to a minimum. I'm still debating on pouring concrete for the floor. The gravel is serving the purpose well for now.
Well, thanks for letting me share my experience. Hopefully it was interesting. If you have questions feel free to ask.
|